Installation Methods


Installation methods

Double Stick Installation

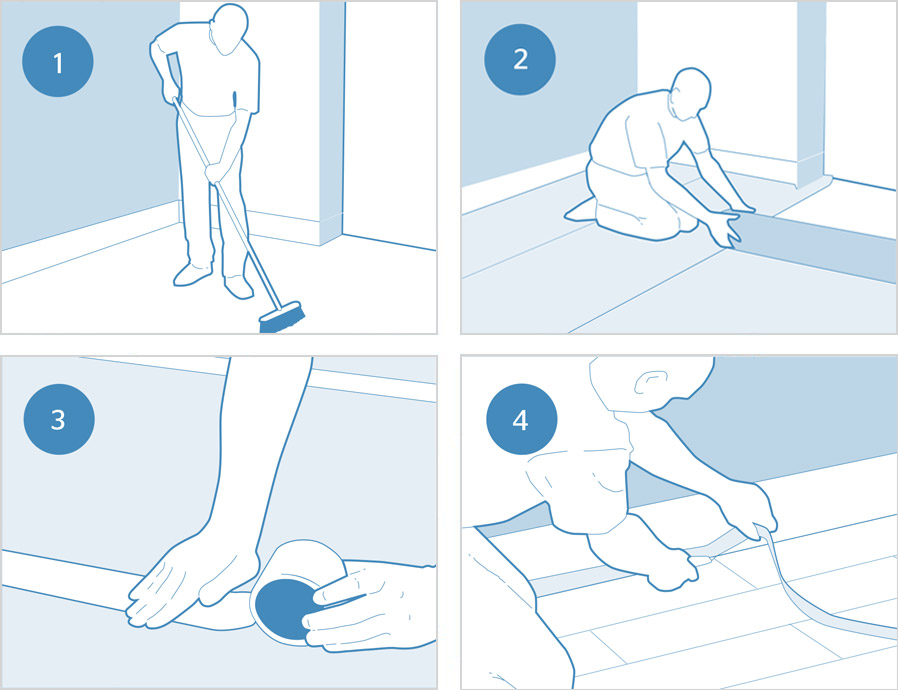
Underlay is adhered to the sub-floor using a release type adhesive. Carpet is fully adhered to the underlay using a permanent type adhesive.

  1. Apply tackifier to sub-floor using a roller, tackifier trowel or brush and allow to dry.
  2. Lay out the underlay onto the sub-floor (printed side up) ensuring the underlay seams are closely butted together and run at 90° to any carpet seams. Each run of underlay should run in the opposite direction to the adjoining piece. All joins should be butted together, no gaps, and securely taped with a suitable single sided underlay tape. Care should be taken to ensure the underlay joints are level and not uneven in thickness.
  3. Apply carpet adhesive to the backing using a Durafit, or B2, notched trowel.
  4. Lay the carpet into the wet adhesive and smooth out any fullness or air bubbles with a Glider.

Advantages

  • Helps reduce the risk of rucking in high traffic areas
  • Avoids the need for sewn or heatbond seams
  • Gripper fixings and stretching not necessary
  • Enables perfectly straight borders
  • Quiet and fast installation in large areas
  •  Improved flame retardancy of final floor build-up

Disadvantages

  • Installation cost is higher but maintenance costs are lower

Stretch fit installation

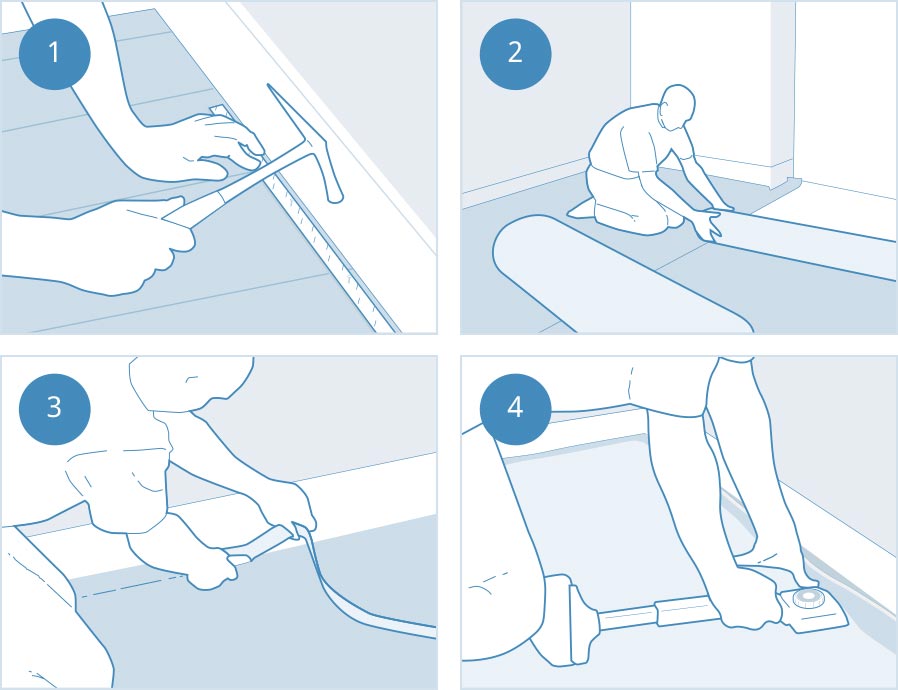
Carpet is held in position using carpet gripper which is nailed to the subfloor. Carpet is stretched over the underlay and secured to the grippers.

  1. Fix gripper to the floor leaving a gap between the skirting and the gripper.
  2. Lay the underlay (backing side up) and secure the seams with tape.
  3. Rough cut the carpet into place
  4. Stretch over the grippers using a knee-kicker.

Advantages

  • Carpet can be up-lifted and replaced
  • Gripper system does not require smooth clean sub-floor (though desirable)

Disadvantages

  • Stretching a carpet weakens the backing
  • Delamination can occur when secondary backed carpets are stretched over too soft an underlay
  • Periodic restretching may be necessary in high traffic areas
  • Fixing gripper is noisy and can damage subfloor

Wood & Laminate/Floating Floor fitting instructions

Duralay wood & laminate underlays absorb floor irregularities, helping mask unevenness and minor blemishes found in many surfaces.

With just the right amount of give a Duralay underlay will protect against the overstraining of wood and laminate floors.

The built-in Vapourstop barrier of our Timbermate Excel and Silentfloor Gold underlays also help to protect against moisture.

Installation method

  1. The subfloor must be level, sound, dry and free from dust, grease and other  contaminants. Any loose floorboards must be nailed down and any protruding nails hammered down.
  2. The underlay should be laid foil side down (essential to ensure maximum resistance to moisture from the subfloor) allowing a 5cm excess of underlay to run up the perimeter wall. Each roll of underlay should be closely butted-up.
  3. Tape all joins with single sided waterproof tape and press firmly into place.
  4. Once the flooring has been fully laid, trim the underlay to the top of the flooring, fit skirting or quadrant to finish.

Head over to our instructional videos page for video tutorials on Double-stick carpet installation using the Durafit System and Stretch-fit carpet installation using Tredaire underlay and gripperrods carpet gripper.